Showing posts with label Guard. Show all posts

Friday, December 14, 2012

HOW TO: Sandbag terrain

Hi Everyone!! Just a quick "TUT" of sorts for all of you aspiring guardsmen out there. I had to build up a piece of terrain for my local club and I decided to put a sandbag emplacement on it as the Original had a small crappy one on it. Anyway here is how I did it.

First off I got my base and planned directly on it. I got a piece of scrap plywood I had and put Foamcore on it with a hot glue gun. The foamcore is so I can actually hollow out an area for the emplacement. After that I drew out the area for the actual building to set so I can place it back later after I build up some areas. I then cut out the emplacement area and used filler to smooth out the edges.
After then I made a pattern of the hole I cut out to have a place to build up my sandbags. I do this as not to smash the foamcore while trying to texture and build the wall. Also the filler was still wet and it gave me a dry area to build on.


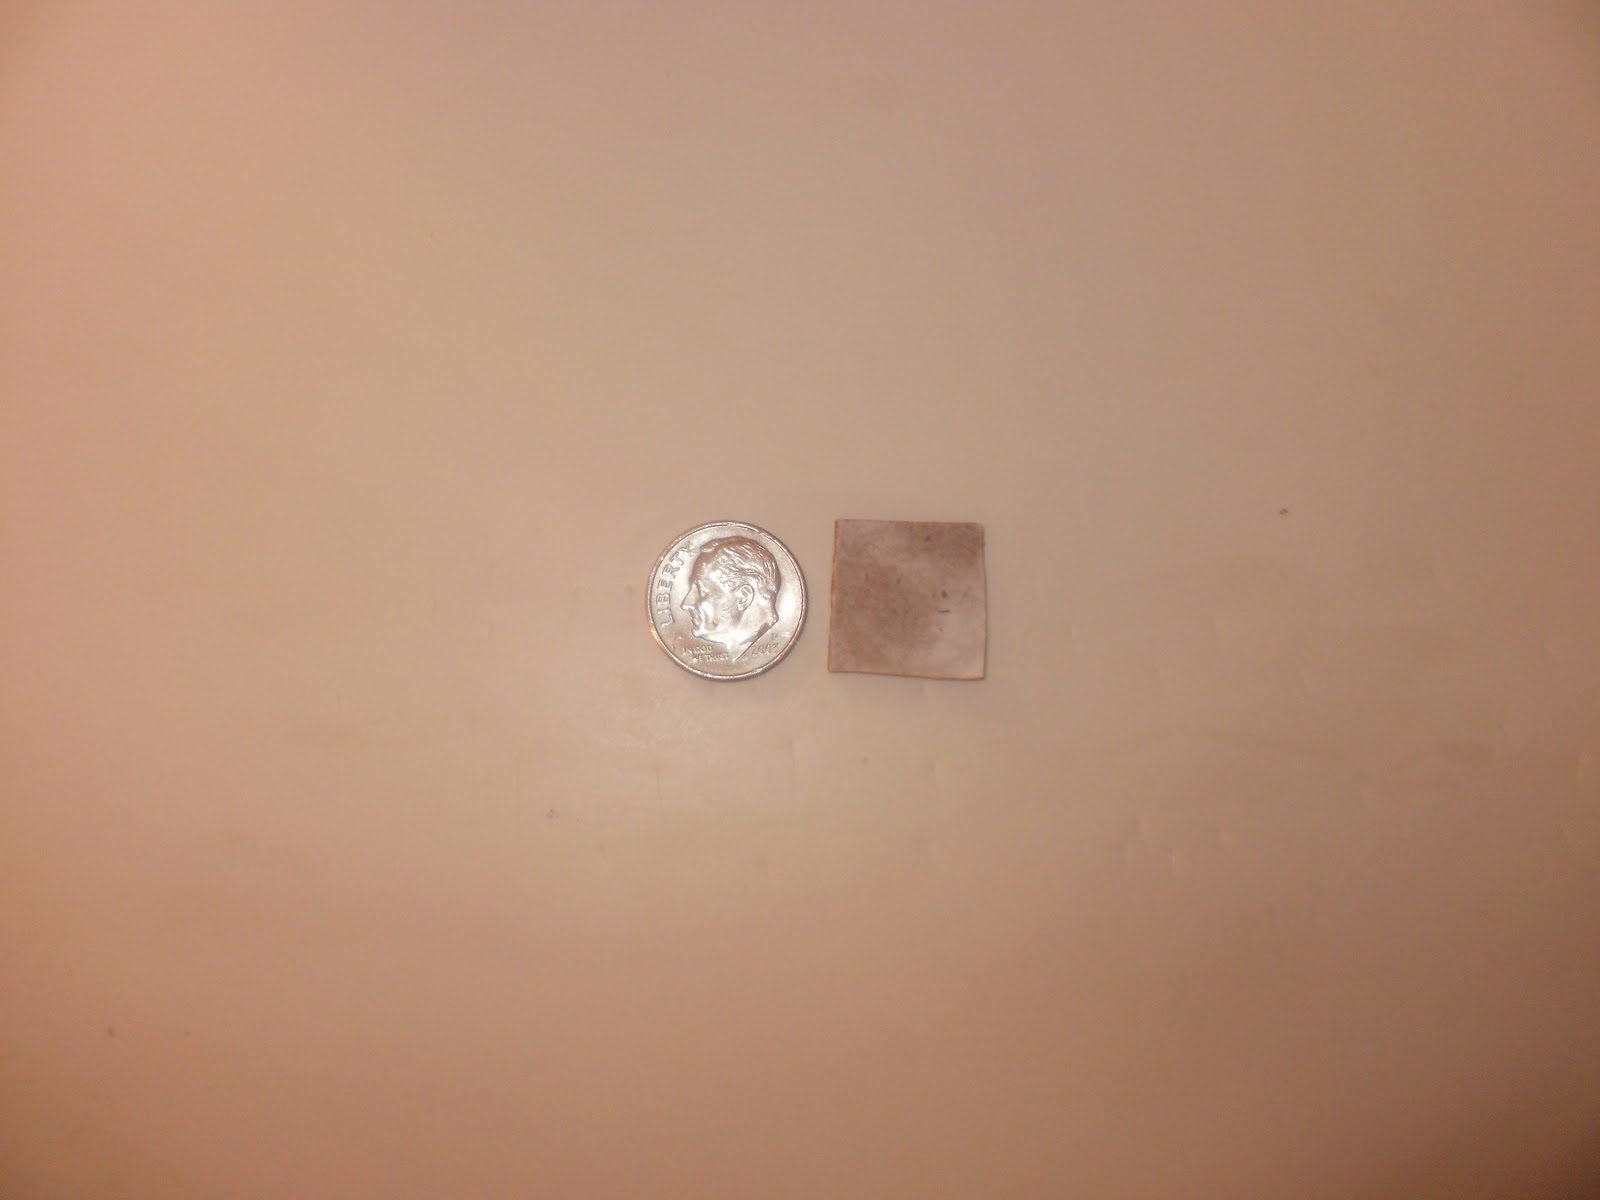
From there I decided to make a "jig" so my bags are all around the same size. I just cut a square out of cardboard about the size of a dime. 


From there I just roll out sculpy and make a snake. I cut off enough to be manageable and go to town.

From there I roll it out some more and then flatten it out to form a flat snake.
Then I lay my jig on the Snake and cut out the bags.....

I then take these squares and use my fingers to round them out some to soften the corners and make them more "bag-like".

After I round out a bunch of them and have a good supply I then start to build my wall. I build in a "true" fashion and interlock the bags. this adds stability to the bags wall and realism.  If your needing help with this Google Sanbag bunkers and the like and you should get some good pictures. Anyway interlocking them makes them look real and remember they are NOT PERFECT so dont be afraid to misalign them a tad bit. SOME people texture them either by pressing cloth into them OR putting cloth band aides on their fingers and pressing their fingers into them. Also a good idea is to take a sculpting blade or knife edge and score a "seam" into the edge of the bags. I did not do this in these because I was in a rush and forgot. Oh well its only a club peice and when I repair it I will do it next time!!! LOL

Here is the bunker wall I made and then baked to make it hard. I then glued it to the base and painted it. I will show pics of that in the next day or so.


And Thats it!! Thats how I built the sand bag wall!!

Wednesday, October 24, 2012

More on Munkeys NEW marines

OK well I have been talking with some friends and such and I found some pads I liked.....

.....Warning From here on out Fluff bunnies might get upset.....

I found these:

I was super happy and I thought they would fit my Dark Hunters marines well.... See??

Adds a little more texture and still have the "double headed axe" look!! WIN!!! Except I forgot to realize I did not read completely the Badab War books from Forge World.....

Well DAMN!! The Executioners stole my Iconography!!! The Bastards!!! So I looked more into the Executioners and found not only did I like their Icon but the also had a blue color scheme before Forge World changed my FLUFF!!! (this is another rant altogether though!!)
NOW this Kinda fits my Objective of working more with the airbrush as I can do the camo with an Airbrush, but I however do not like it. Really I dont like it. And I have seen Executioners before but have never seen Dark Hunters So what Im going to do is a little bit of Heresy. Im going to use the icons as Dark hunter Icons and paint them as Dark hunters. I will however look to the fluff in the FW books from the Executioners to pattern my vehicles and squad markings some. 

I also have found a VERY cool blog that did some very nice Executioners called Fourth Company Librarium and He (I think its a He!! pretty sure) and He used some Chapter house Doors for his Rhinos and did some pretty good ideas for markings.....


Im thinking I will Like this "new" direction and then I will have a good playable army and work on my airbrush tech for painting minis. I picked up some Tamiya acrylics and Airbrush hose for my new airbrushes (im going from an Iwata to Badgers I got on Ebay). Im going with Tamiya Flat blue with field blue and medium blue to act as my highlight and shade.
SO thats a little update and I hope no one is too mad im using some "liberty" with my icons....;)

So till next time Serve the Emperor well!!
Munkey!

OH!! PS I saw this on Darogs Company blog and thought we would like to get some of this....;)


Monday, October 22, 2012

Munkeys New marine army

OK Well some of you know Im making and working on a couple of armies. I have my beloved Red Scorpions That are ALL FORGEWORLD MK4 armors that I'm building up as well as painting and rebasing my Catachans. The Red Scorpions are of course going to take some time as Im wanting to paint them well and make them look good as its $40 for 5 marines.... So I want my moneys worth and will take some time to do. As for the Catachans Im doing swamp base themes for the entire force of about 400 models. Im using the Secret Weapon Blasted Wetland bases so Im using water effects and taking some time to do. NOW BOTH of these armies are playable showcase armies (not only a TT standard but a little better) and I also am wanting to paint more models with my Airbrush so I dont want to mess them up. Ok well here is a recap of the Red Scorpions and Catachans. and why its going to take a while...

Red Scorpions:
Im doing the Angstrom Incident Camo Scheme and using Dragon Forge Designs "Urban Rubble" bases.

Im using the Forge World MK4 armors and will be painted to a pretty good standard. I would say its what I would paint as a company Champion level, Not a centerpiece but better than a high tabletop. This is an Infantry heavy army with very few vehicles.

Catachans
The Catachans are all on Wetland bases from Secret Weapon and are painted in the Standard "GW" Green with Red bandanas.

Im using Standard GW Catachan IG plastics I put together and Sprayed them OD camo Green. These will be primarily painted with an airbrush and detailed with a brush. they will receive an "oil color wash" for their main shading and to add a :grimy" and "dirty" vibe. The big deal with them is the sheer number and the Water bases.

Now this brings me to where I am using Airbrushes for my minis.... How am I going to get practice and not mess up  my good minis?? How do I solve this dilemma??? I paint the Space marine army I have in my closet!!! LMAO!! Yep I have an Old "Garbage Army" of marines that are just a collection of several different colors and builds that I have picked up on Ebay and such from time to time. there are "White Scars" painted like Garbage, "Black Templars" that have been painted pretty craptastic, a smattering of test colors and a handful of Just plain plastic.. These will get a dark blue spraypaint job and will be done mostly with an airbrush. Im choosing the "Dark Hunters" Chapter as the scheme because its Easy to paint, and its Dark and will easily cover any colors not removed in the Stripping. I am looking to a buddy to do some custom Shoulderpads for me and I will cast them up to make the paint go faster (its raised details and will not be freehand!!) Here is what they will look like:
Im thinking I will use Either the "Desecrated Lands" range from Dragonforge that are sculpted by the talented Mathieu Fontaine OR the "Lost Empires" range also from Dragonforge. Im leaning toward the "Desecrated Lands" though....;) Im using the following List of Models to make an actual list.

6 Speeders
20 Bikes
4 attack bikes
1 Chaplain on bike
10 assault marines
20 terminators
95 power armored marines
6 rhino
Again they need some stripping and such that I will start on tomm but tis is what Im going to be working on so I can play some games this edition....LOL

And as for my projects I have been working on I have been doing some progress. Im working on the bases that I have been doing and making more masters also. I hope to get another bottle of Silicone sometime soon so I can make more molds for bases and hope to have these as a viable product sometime soon. I also got my Truescale Terminator models from Three Stage Studios. It took some time to get but Talking with the guy I think him and I can possibly come together in the future and make some magic. He seems to be a pretty good guy all in all. Also on the Commissar bust..... UGH.....I almost dont wanna talk about it so I will just do a photo dump and ask for your prayers..... LMAO!!


OH yea... I almost forgot!! I also found some Tau in my Storage.... Maybe these will get some paint sometime or maybe they will hit Ebay... Dunno yet.


Well that about wraps up this weeks projects and fun SO till next time Serve the Emperor Well!!!
Munkey!!