Showing posts with label HOW TO. Show all posts

Sunday, December 29, 2013

You Get What You Pay For!

Hello Everyone!

I am here blogging as a special guest on Munkey Joe's blog.  This is my first time using blogger so please bear with me if it comes out looking all weird. =) For those who might not know me, my name is Lyn Stahl.  I am the owner of Metalhead Minis- Commission Painting, Consignment, and Sales.  Metalhead Minis was established in 2009, but I have been painting and collecting since 1997. Aside from Metalhead Minis, I also teach painting at multiple conventions such as GenCon and Genghis Con, I compete in painting competitions, and write articles for multiple hobby magazines around the world such as Figure Painter Magazine.

I wanted to take a moment to post some information regarding obtaining commission paint jobs from professional painters.  Often times, when professional painters hangout and "talk shop", one of the most common topics is the fact that a lot of people feel our rates are too high and such.  I have been thinking that there is a missing piece to this puzzle.  The piece that I think is missing is that perhaps if people were honestly educated about why the prices are what they are that it might help the client side understand much better. I am hoping that this can be quite helpful all around. 

Now just to be clear, there are many different professional painting businesses out there and they all have different rates for different reasons.  For example, some businesses have overhead costs to consider as they might pay rent for a separate space to paint outside of their home. Some businesses might also outsource some of their work to save time, or charge per hour instead of a flat rate.  Keep in mind that while it might make the prices a little higher, this might be a system that works specifically for the business and serves as a benefit to both the painter's work and their clients.  My objective in writing this blog post is not to speak for all the miniature painting services out there. The information in this blog I have made sure to keep pretty general using average numbers and such as a "starting point" (for lack of a better term).  This is just to help people in the community have an understanding.

We all know the saying "Time is money."
When it comes to commission painting, it is no different. When professional painters are working on a paint job, our time is worth money. Professional painters put a lot of money and time into their skill to get to that point.
  • Paint and Supplies- Professional painters have to obtain a lot of supplies in order to start painting for clients.  These items include (but are definitely not limited to) : Green stuff, Milliput, basing supplies, brushes, paints, airbrush, drills, pins, glues, and mixing mediums.  These supplies can range from costing hundreds to thousands of dollars depending on how much they have of these items. 
  • Education- While this type of job does not require a college degree or a certification, the amount of time that an actual professional painter puts into learning their craft and staying up to date can run into just as many study hours.  The education is obtained through classes at different conventions, books, website/video tutorials, instructional DVDs, and paint club meetings.  
With these points considered alone, it is easy to see why a professional painter would want to earn a return on the hard work they have put in.
Professional painters who also compete and have won prestigious awards and commendations (I.E.- Golden Demon, Crystal Brush) might charge a higher rate which is understandable.  Many sleepless nights were had in order to perfect their competition pieces and show their dedication to the craft. A lot of the awards out there are actually not that easy to obtain.
Depending on what quality paint job you as the client are looking for, it must be understood that you "get what you pay for".  This is another saying that I am sure we are all familiar with.  Once or twice I am sure that at least some of you have either made a purchase, had a car repair, or home repair done.  Thought you were being given a great deal, it was super cheap, and then in the end found out that it was crap, and had to go somewhere else and pay a little more to have the job done right. There are a lot of horror stories in relation to commission painting through someone that was not a professional.  The most common ones:
  • This person charged me $20 (or some other low price) to paint my figure/s. It has been a year and I have not received it back yet.
  • This person charged me (insert low, low price here) to paint my figure/s and when I got them back they were not they were not painted the way I asked.  Now I have to get them repainted.
There are other horror stories, but I am sure these two alone should suffice. I am sure you get the point.

Let's talk about average hours and prices.  Again, keep in mind that this is an average to give you an informational starting point, not actual. Professional painters paint at different speeds and all do things differently. These averages are based on a 28mm miniature.
  • The average rate for a table top quality (gaming quality) painted figure is $10-$30 as they take about 1-3 hours to complete.
  • The average hourly rate that a commission painting business charges is $10-$15 per hour. 
  • High table top quality (a nicer table top quality that has more layering of colors and blending) figures take an average of 3-8 hours to complete. 
  • Display quality (collector quality, these models are primarily used for display cases) painted models take an average minimum of 20+ hours to paint.
Double the times for larger figures (I.E.- 54mm)
Triple the times for dragons. 

Most miniature painting services also charge separately for assembly, drilling, gap filling, and pinning. This is because depending on the figure, assembling a figure can take hours alone.  This especially holds true for larger figures and dragons. 

I hope that this has been helpful. =)
Please feel free to get in touch with me if you have other questions.
Happy Painting to All!

Metalhead Minis Website
Like Metalhead Minis on Facebook!

Saturday, May 18, 2013

MOAR VIDEOS!!!!

OK Guys Here are some more vids for you!!! First off the One part mold Video:

http://www.youtube.com/watch?v=AesASRoRecY

and Reconditioning Super Sculpey clay

http://www.youtube.com/watch?v=2lKaEhzva1Q


Again I have NO IDEA WTF Blogger is not locating my videos so I had to post links again.

Thursday, January 31, 2013

Missing post....

Well It appears that the post I made on the 15th was not posted. I hate that, as I am almost positive It was something on my end and Im quite sure it was my failure to hit post before closing out the window. SO I will repost it here to the best of my memory and then do the post I had planned for today in a couple of days.

OK here we go.... The post that was SUPPOSED to be Jan 15th.... Lucky me I made a outline on paper!!!

You Tube!! Munkey Joe Goes LIVE.... Sorta!!!

Munkey Joe Paints and Castings Now has a you tube Channel and I will be doing videos and tutorials On several different subjects such as painting, Casting, Terrain, army building, Various Money saving hints, and basicly many aspects of the Hobby. My Main effort is to have a channel that can entertain and educate you in the hobby even if your a seasoned Vet, or if you Just bought you FIRST box of minis. There will be something for everyone on my channel.

My main strong points are casting and casting tutorials, and tips and tricks. So the MAIN focus will be Hobby resin and casting. Im a decent enough painter and an OK model builder So I will toss some of that in there too no worries.

Im starting out small and am working now with a Buddy who is good with Photoshop and some video editing to help make my title screens and intro parts. As of right now Im recording with my cell phone and am looking for some sort of video editing software to make movies with (EDIT I found Voices of Mars VIDEO helpful with this, Im going to buy Vegas I think). Once I get set up things will be going better and I hope to have better quality stuff for you.

My itinerary for videos will be mostly my Casting class outline filmed as a seminar. I will cover basic casting and advanced casting and will mostly be dealing with Silicone and urethane resin. Here is the "plan" but notice that things happen and this is subject to a bit of change, as well as Video Length may modify some of the videos. I hate Long boring videos, so I wont make them if I dont have to.

Series one: Basic casting
-Overview and materials
---Familiarizing with terms and tech
---Material Suppliers
---Identifying needs to determine your plan
-Simple Molds
---Push molds
---Poured silicone one part molds
---Poured silicone Simple two part molds
-Getting started
---Identify your plan
---Gathering materials
---making a moldbox
---prepping for pour
-Pouring molds
---Using silicone= HOW TO mixing and pouring
---Prepping your part
---First pour
---demolding your part.
-Pouring resin
---Using Resin= HOW TO mixing and pouring
---Prepping your molds
---First pour
--- Demolding your cast

Series Two: Advanced Casting
-Intro 
-Advanced two part molds
-One part block molds and split molds
-Casting with pressure
-casting with vacuum and pressure


And for those who are wanting to find us on YouTube: Munkey Joe YouTube Channel

Friday, December 14, 2012

HOW TO: Sandbag terrain

Hi Everyone!! Just a quick "TUT" of sorts for all of you aspiring guardsmen out there. I had to build up a piece of terrain for my local club and I decided to put a sandbag emplacement on it as the Original had a small crappy one on it. Anyway here is how I did it.

First off I got my base and planned directly on it. I got a piece of scrap plywood I had and put Foamcore on it with a hot glue gun. The foamcore is so I can actually hollow out an area for the emplacement. After that I drew out the area for the actual building to set so I can place it back later after I build up some areas. I then cut out the emplacement area and used filler to smooth out the edges.
After then I made a pattern of the hole I cut out to have a place to build up my sandbags. I do this as not to smash the foamcore while trying to texture and build the wall. Also the filler was still wet and it gave me a dry area to build on.


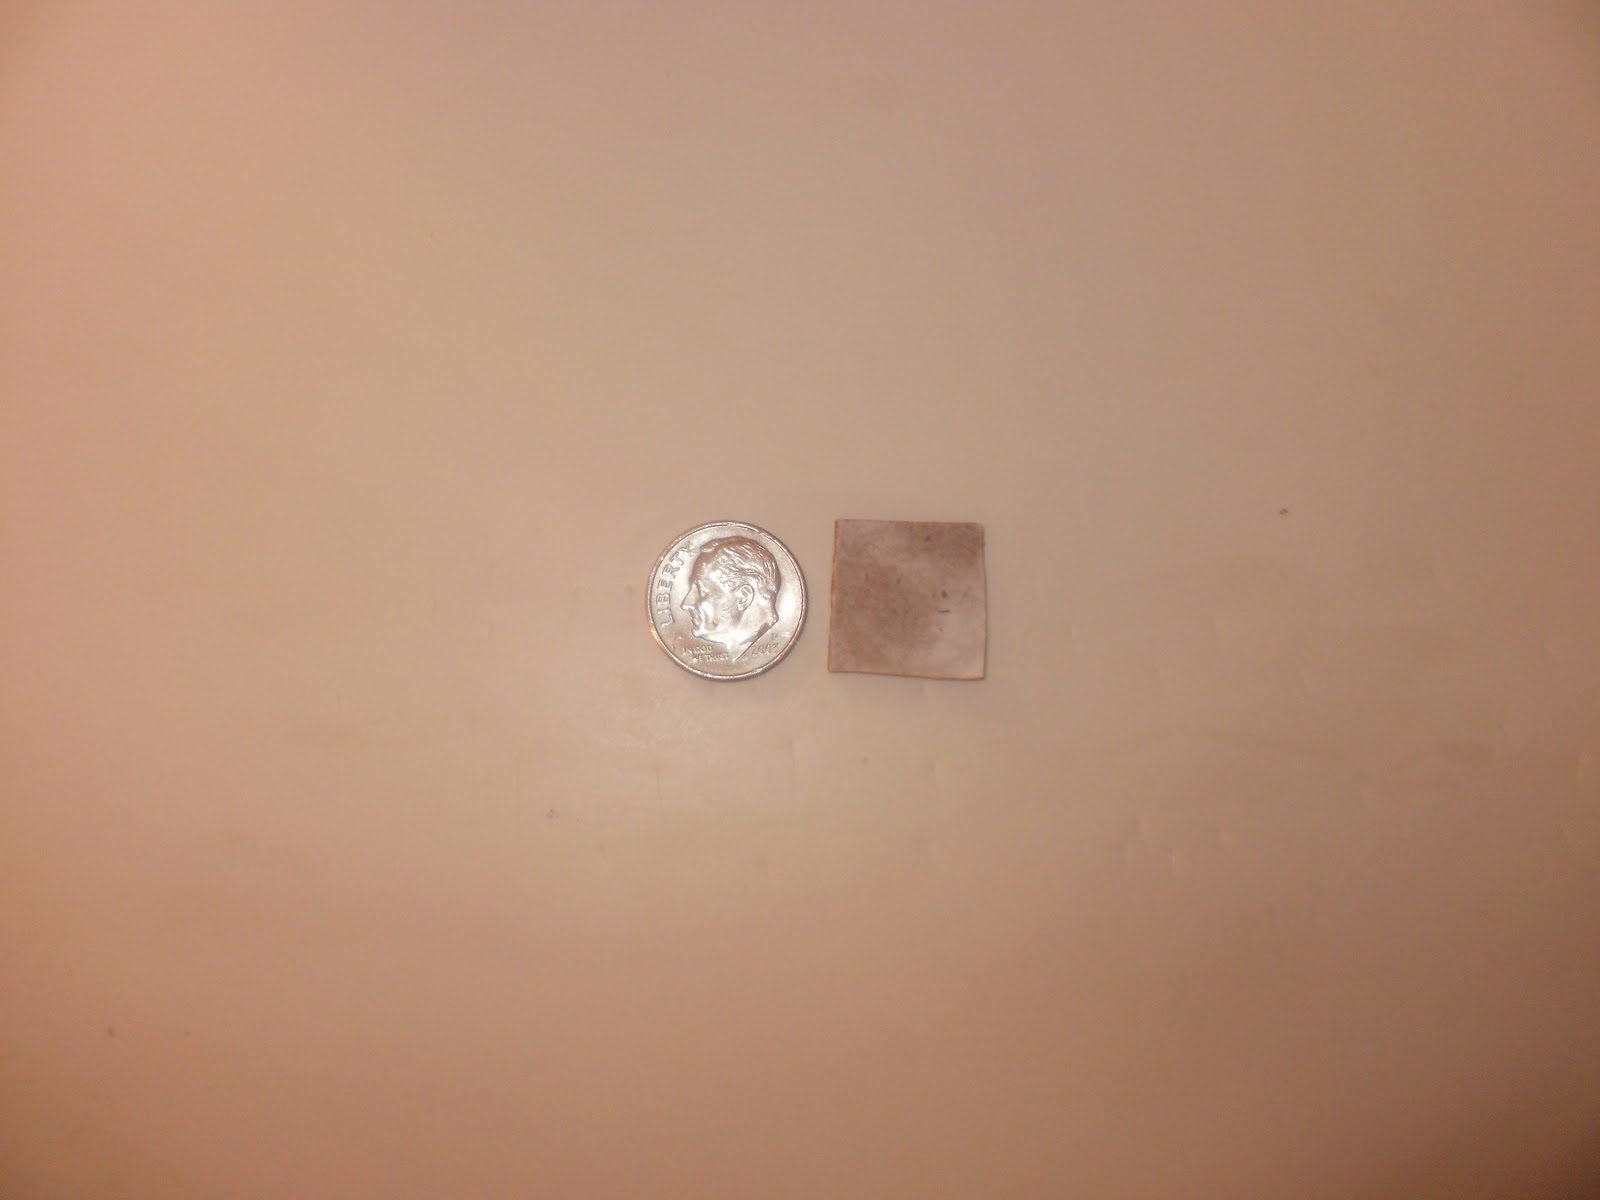
From there I decided to make a "jig" so my bags are all around the same size. I just cut a square out of cardboard about the size of a dime. 


From there I just roll out sculpy and make a snake. I cut off enough to be manageable and go to town.

From there I roll it out some more and then flatten it out to form a flat snake.
Then I lay my jig on the Snake and cut out the bags.....

I then take these squares and use my fingers to round them out some to soften the corners and make them more "bag-like".

After I round out a bunch of them and have a good supply I then start to build my wall. I build in a "true" fashion and interlock the bags. this adds stability to the bags wall and realism.  If your needing help with this Google Sanbag bunkers and the like and you should get some good pictures. Anyway interlocking them makes them look real and remember they are NOT PERFECT so dont be afraid to misalign them a tad bit. SOME people texture them either by pressing cloth into them OR putting cloth band aides on their fingers and pressing their fingers into them. Also a good idea is to take a sculpting blade or knife edge and score a "seam" into the edge of the bags. I did not do this in these because I was in a rush and forgot. Oh well its only a club peice and when I repair it I will do it next time!!! LOL

Here is the bunker wall I made and then baked to make it hard. I then glued it to the base and painted it. I will show pics of that in the next day or so.


And Thats it!! Thats how I built the sand bag wall!!

Tuesday, October 30, 2012

Stripping Revisited

Some of you might remember my article on Stripping And I mentioned Stripping liquids I use Simple Green and Acetone. Well there is another product I failed to mention Castrol Super Clean.

I have tried this before and was like "meh...." as it didn't really work very well.
Well I recently was talking with a friend and come to find out I was using it wrong. I got some tips from my buddy (who swears by it) and I stripped my Dark Hunters marines using the tips I got from him.... and we now swear by it too.... Its actually VERY GOOD!!! But Why?? HOW do I use It??? Well here is all you need to know about Super Clean as a stripper!!!

First things first Where do you get it??
I got mine from a local Auto supply, but you should be able to find it at any auto supply like Advanced or Pep boys, or even Walmart. Your looking for the Jug like I have above NOT the spray. It should be between $6-10, I paid $10 but my friend Lyn Stahl has it in TX for about $6.....Remember Jug NOT spray

What does it do?
Well it removed paint from Plastic metal and resin. I have noticed that simple green works good on plastic but sometimes doesnt do resin. Also SG will eat impurities in metal where this will not. Also if left long enough it will also break the bond of superglue because its a chemical process that we will get into soon.

How do I use it???
Well follow the basics in my stripping tut. As for the Liquid Use 50/50 Super Clean concentrate and regular tap water. Diluting it in water is actually necessary to be more effective though.  This has something to do with the hydroxide ions being dissolved and such but Chemistry class was so long ago. Anyway Ensure there is enough liquid to cover your models and I was using a 2.5 gallon bucket from Home Depot VS a 5 gallon. I was unaware of the ingredients and I did not use gloves for the first strip, as I rarely wear gloves when stripping with SG.... BAD IDEA!! You can see how I have stripped all the oils out of my left hand and have a Dry skin issue. It went away after 2-3 days and hand lotion.

The reason it dries out your hands is it contains Sodium Hydroxide and uses it as a degreaser so... ALWAYS WEAR GLOVES!!! Also good ventilation is always good. Its also safe to pour down the drain if you want as its not toxic.


Now How does this work exactly???
Whats going on is really a chemical reaction with the Hydroxide ions and the paint. I like to think of it as like soda. the more I agitate it the more bubbles release and such SO if I reuse the solution over and over eventually it will go flat. Adding more Solution brings back the soak to optimum levels again, but I have been using the solution till its "flat" then starting new. If you choose to reuse it and  just add more dont dilute it as the water from the first mix and the "used" cleaner is basically water too so just add more concentrate to your mix.It comes down to availability of the ions in the solution to bind with the paint, which is going to be a function of the paint you're stripping, the solvent content, and the water content, assuming it works the way I think it does.The trick is also to remove excess paint as you can, allowing new paint to be exposed to the solvent. It is  recommended to take a soft toothbrush to the models 30 to 60 minutes after they hit the dip, and then again another 30 to 60 minutes later. I dont always do this as I dont like to brush them but once but if you want the best strip you can. I just let them soak for a bit and then scrub them down. If its not clean I toss it back in and get it later. But Im lazy. Its ALSO good to point out that Chemical reactions are picky and lazy, and not smart. As you strip paint from the model, the large chunks of paint are often left in the solution. The solvent doesn't care if the paint is on the model or not so it's going to react no matter what. A large amount of your solvent is being used up in unnecessarily dissolving this paint that has sloughed off in the soak. Another reason it is recommended to take a brush to the model within the first hour or two a few times, removing those large amount of paint that are loose enough for you to remove, but otherwise will waste a bunch of your solvent's stripping power. Remember the soda.... this is like shaking your bottle before you pour it in a glass.

And from a Forensic Chemist This is whats going on....
SuperClean contains EDTA.  EDTA is an agent that will help with water hardness and acrylic paint is water soluble. The hardness is caused by for example calcium and magnesium ions (the cause of scale on kettles and in bathrooms, etc) and EDTA is a chelating agent - basically mopping up these ions, softening the water and therefore helping the solubility of the acrylic paint and making the sodium hydroxide in solution more effective. Sodium metasilicate also decreases water hardness. The Poly(oxy blah blah) is a surfactant - it lowers the tension between two liquids and you'll see various surfactants in every detergent known to man - basically helping break down the barrier between two liquids. When that barrier is lowered it aids in cleaning.

Well thats a mouthful but in Monkey terms its making it good. It works and thats what matters. Really. So my assessment?? Its what Im going to use to strip paint off plastics from now on. Its amazing how well it works and I am planning on getting rid of all my simple green and replacing it with super clean.
Well thats it for the Stripper Revisit so till next time Serve the Emperor well!!!

Munkey!!


Wednesday, June 6, 2012

Quicky paint panel, for holding your paints

OK Everyone!! I have been fighting with my paints since moving into my smaller Apartment. I like to have my paint where I can see them and have easy access. I made this simple paint panel to hold my paints out of the way and where I can see them. Here is how you can make one yourself if you wish and for less than $20.

$20 Paint Panel
First thing you will need are your supplies. For this project everything was purchased from my local Home Depot (They offer a 10% Military discount for me!!) and everything is Super easy to come by. So on to the list!!
Luan Panel, Hobby Panel. 

This can really be ANY type of paneling, I just used Luan because it was the cheapest. its NOT known for its great durability Nor its finish BUT its Light and cheap and will not be a problem for this project. I think I paid $8 for this piece and Its 2X4 foot. I cut it down with my Heavy Hobby knife (see heavy duty utility knife ALSO from Home depot) and then sanded down the rough edge with a block sander. I now have a 2X3 foot piece to work with and a 2X1 piece to use as a base for kick butt terrain project.

"J" Channel
"J" Channel can be either Vinyl or Aluminum and can be found in the siding department. Its made to form some sort of soffet or barrier around your home but for this it will form shelves. I purchased Aluminum because it was there and it was wide enought to hold my paints. this is VERY important to get a "J" deep enough to hold your paints, so do like I did and bring a bottle with you to test. Mine is about an Inch deep and accommodates 99%  of my paint. Mine also came in 10 foot length and I bought 2 of them at about $5-6 each. 

Stapler
This is a run of the mill electric stapler I have at the house. nothing fancy. This is used to attach your channel to your panel. You also can use screws, nails, Brads or even some sort of glue in a pinch. Whatever you feel will hold the channel with paint on it to the board. 

Assembly....
OK well easy is the key word here. I started at the bottom and placed my first piece to the board. I measured the shelf and cut it to fit on the board. As stated My sticks were 10 foot long so I had enought to make 3 shelves with a foot left over to form a "topper Shalf". I dropped the first shelf down to where it would be "hanging off" with only enough on the board to attach it to give me more shelf space. Once in place I stapled it to the panel. I then measured with a paint bottle the height I would need and placed my second shelf and stapled it into place. Follow on with the rest of the shelves ensuring you leave enough space to for your paints to stand up between shelves. And your really done at this point. All you need to do is screw it to the wall. I used Drywall anchors to do this and its very sturdy and secure.

Perfect?? No. I need some way to keep the paints from falling off of the ends as they are open. Also Since I used Aluminum I will need to be careful as it has sharp edges. Other than that I really am fairly happy with it and for the price, Im Very happy with it.


And there you go... a $20 paint shelf and it took me about 20 Mins to build. I hope someone can use this to build there own and improve upon the design.

Till next time, Serve the Emperor well.......
Munkey!

Tuesday, May 1, 2012

Crap-Mera DONE!!! WIP and completed pics!!

OK well the Crap-Mera salvage project was a success..... I have not posted much because I literally was Working , Sleeping, and doing this project for the past 4 days.  No worries though I did take some WIP pics and such for everyone to see..... OK well Lets get started!!

I left you with a semi salvaged Chimera.... Pulled apart and dry fitted for an Idea of what it would look like.... And some ideas for what i was wanting to do. Well Not everything went as planned and I will leave it at that.... Here is some pics of the baby steps of the project:
Starter Chimera:
And initial refit:
As you notice I chopped out some of the hull to make room for the second copula to fit in with more of the M113 look. This required a little styrene sheeting to fill and some time, but overall easy conversion. From there I chiseled out the glue from the sides and glued them in place. Heres a pick of that nasty glue
Once glued into place I then looked to detail parts and dryfitting them into the hull. I wanted a handfull of pre made parts for this to save time Yet give it a well used machine full of useful stuff. Hers the dryfits of the details
And the commanders coffee....;)
I then went on to fill in gaps and such with Squadron putty..... for those of you not familiar with this product Dont worry, its hard to use and NO FUN. its what I had so I used it. Its smelly, and only thins with Acetone, BUT you CAN get some pretty good results if you know what your doing.... I dont, but I was happy with my results for the most part.
OK well after this we went to the Paintshop....Sadly I dont have many pics at this stage.... I ran into problems with my airbrush and was really upset about it and just did not take pics..... BUT I will describe. I painted the chimera with Rust primer (color) and went over areas  with Red-browns and oranges to mottle the colors some. I sprayed gloss clear to protect the paint and I then sponged on Artist mask and went to painting. After my colors were in place (greys in this case) I just brushed the mask off for a well rusted  look. From there I just added washes and some weathering to taste and this is what I eneded with:


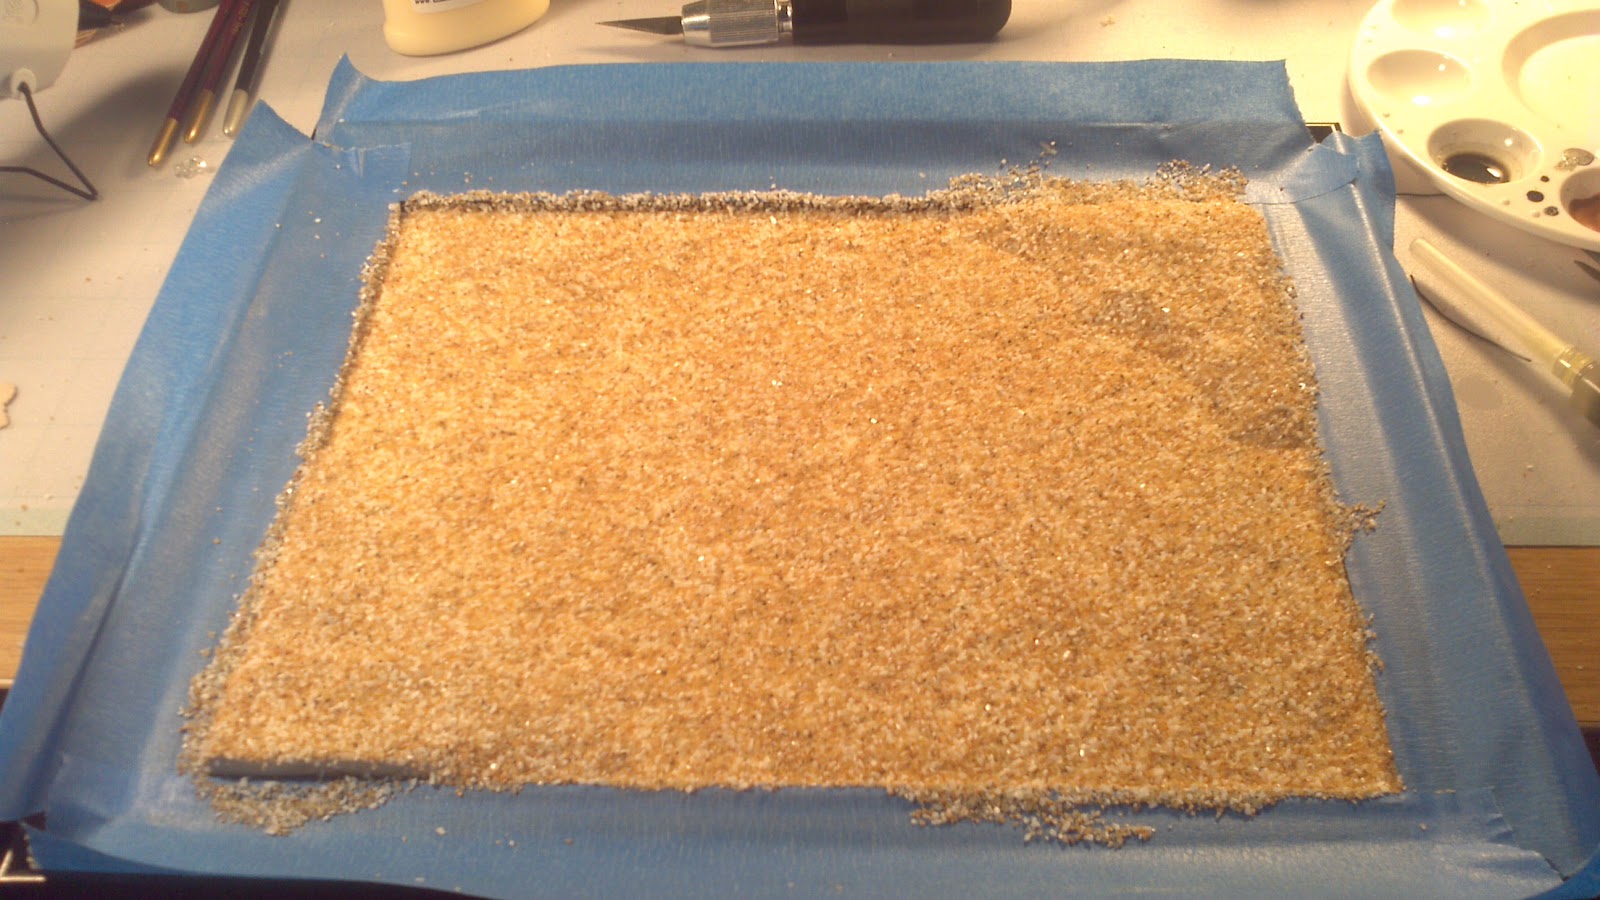
Now on to the Base.... I was short on time so I did not use the wood base from my Warhound, but instead got a picture frame from Jo Anns for $5 or so and used it. I glossed the frame and then Masked off the frame to avoid getting glue and sand on the nice gloss surface. From there I added some Fimo hills and glued the sand to the Backing.
Then painted it and drybrushed it like any other Base....
After that I simply glued the chimera to the base.....

And VERY SOON after I noticed I had forgotten the Commo antennae so I added those and named it "Rust Bucket" by freehanding that on the side......And dressed up the antennae with a Wine foil Guidon, Complete with crossed rifles and in Infantry Blue..... And Now Im calling it DONE!!!


SO Remember.... That with a little work (4 days of 4-5 hours a night) Even the most horrific tragedy of a model can be revived to serve the Emperor again..... And if you still think its too far His Glorious service??? Chaos the HECK out of it!! Nurgle needs more crap too!! But thats the NEXT model time....;)

Till next time Serve the Emperor well,
Munkey

Monday, April 16, 2012

HOW TO= Stripping: Tools and Equipment

OK well here we go continuing on our HOW TO series with Stripping Tools and Equipment. Stripping is an essential skill for the Budget Gamer. Buying on Ebay and Bartertown most used models will have paint on them, and 99% of the time its NOT your scheme or level of painting. By stripping the old paint off you bring back detail and allow a "less than happy" paint job transform into a Very nice piece of your Army. Here is how I do things, and know that this is not the only way to do it But ONLY the way I do.

Tools and Equipment
First off what do I need to strip paint?? Well Basics are Stripper liquid, Models to strip and something to hold them in. Heres what I use to put everything in....
Homer Bucket= Home Depot For $3-5. ENSURE YOU GET A LID!!


I Use 2 of these And have a "shallow" and a "deep" soak. I put troop models and the like in "shallow" while my "deep" I put tanks and titans in. This is not needed but I find it easier to pull troops out of a shallow bath VS deep and Shallow will not cover most large tanks. Just me though and not needed. I have seen some people put models in a mason jar and paint cans. I use paintcand bought at Home Depot for metals but only use Acetone in them, Simple green WILL EAT the impurities in the metal......And is why I use Acetone too But more on this later.

Now we need the stripping liquid.
 I use Simple green and Acetone. 

I buy 5 Gallons at a pop and spend $50 or so bucks for it and Buy Actone for about $15 a gallon. ONLY PUT Acetone in metal, and use safety precautions. Simple green is eco and user friendly so I use it for most of my things. Simple green DOES however eat impurities in metals and I use Acetone to clean Metals. Acetone also melts superglue and and plastic parts so I like to use it for metals.

And Something to remove my parts. 
a strainer. 
I use this to remove parts and also to set in my sink to catch small parts I drop. You can get these from ANY place like WalMart, Target, or Kmart. No need to spend lots of cash on this and its not a requirement.

Last you will need something to scrub with.
Denture Brush, Tooth Brush and Electric brush
 I use mostly the denture brush because it has a tooth brush AND a cone shaped detail brush. not only that but its got a large handle and is easy on the hands for long periods of stripping. I also give the standard toothbrush a workout also but some use electric toothbrushes. Whatever you want to use as a brush is fine.

This is all you need for the actual stripping. I also use certain tools to break up models and break them down before and after stripping. Heres a list of them.
Up first is something I use all the time.....
Screwdrivers

I use a precision set as well as regular screwdrivers. I use quality screwdrivers from Craftsman for a prybar because if I damage them I can return them no questions asked. I have yet to damage one, even though I have tried!!! For my precision screwdrivers I bought them on sale at some auto store bargain bin for like $5 I think. Now I use both common and Phillips, Here is a pic for those who dont know the difference...
I use the Phillips as a punch to push things that need it and the common or Flat as a pry and a wedge. its one of those things that you can experiment and develop your own way. NOW you dont NEED this one and its probably worthless for our purposes but its cool.....


I also always have cutters
Nippers and Sidecutters

OK well we SHOULD have these already BUT they are almost required to have. I use nippers for small stuff and side cutters for the big stuff.

And Lastly Another must have you should have in your toolbox....
Exacto blades
Self explanatory But you might find a use for these while doing the hobby....;) I use them to cut glue welds and models from bases and such.....

OK well this is what I use to strip models. I hope you find it useful and any questions leave a comment!!

Till next time Serve the Emperor well!!!