OK well the Crap-Mera salvage project was a success..... I have not posted much because I literally was Working , Sleeping, and doing this project for the past 4 days. No worries though I did take some WIP pics and such for everyone to see..... OK well Lets get started!!
I left you with a semi salvaged Chimera.... Pulled apart and dry fitted for an Idea of what it would look like.... And some ideas for what i was wanting to do. Well Not everything went as planned and I will leave it at that.... Here is some pics of the baby steps of the project:
Starter Chimera:
And initial refit:
As you notice I chopped out some of the hull to make room for the second copula to fit in with more of the M113 look. This required a little styrene sheeting to fill and some time, but overall easy conversion. From there I chiseled out the glue from the sides and glued them in place. Heres a pick of that nasty glue
Once glued into place I then looked to detail parts and dryfitting them into the hull. I wanted a handfull of pre made parts for this to save time Yet give it a well used machine full of useful stuff. Hers the dryfits of the details
And the commanders coffee....;)
I then went on to fill in gaps and such with Squadron putty..... for those of you not familiar with this product Dont worry, its hard to use and NO FUN. its what I had so I used it. Its smelly, and only thins with Acetone, BUT you CAN get some pretty good results if you know what your doing.... I dont, but I was happy with my results for the most part.
OK well after this we went to the Paintshop....Sadly I dont have many pics at this stage.... I ran into problems with my airbrush and was really upset about it and just did not take pics..... BUT I will describe. I painted the chimera with Rust primer (color) and went over areas with Red-browns and oranges to mottle the colors some. I sprayed gloss clear to protect the paint and I then sponged on Artist mask and went to painting. After my colors were in place (greys in this case) I just brushed the mask off for a well rusted look. From there I just added washes and some weathering to taste and this is what I eneded with:
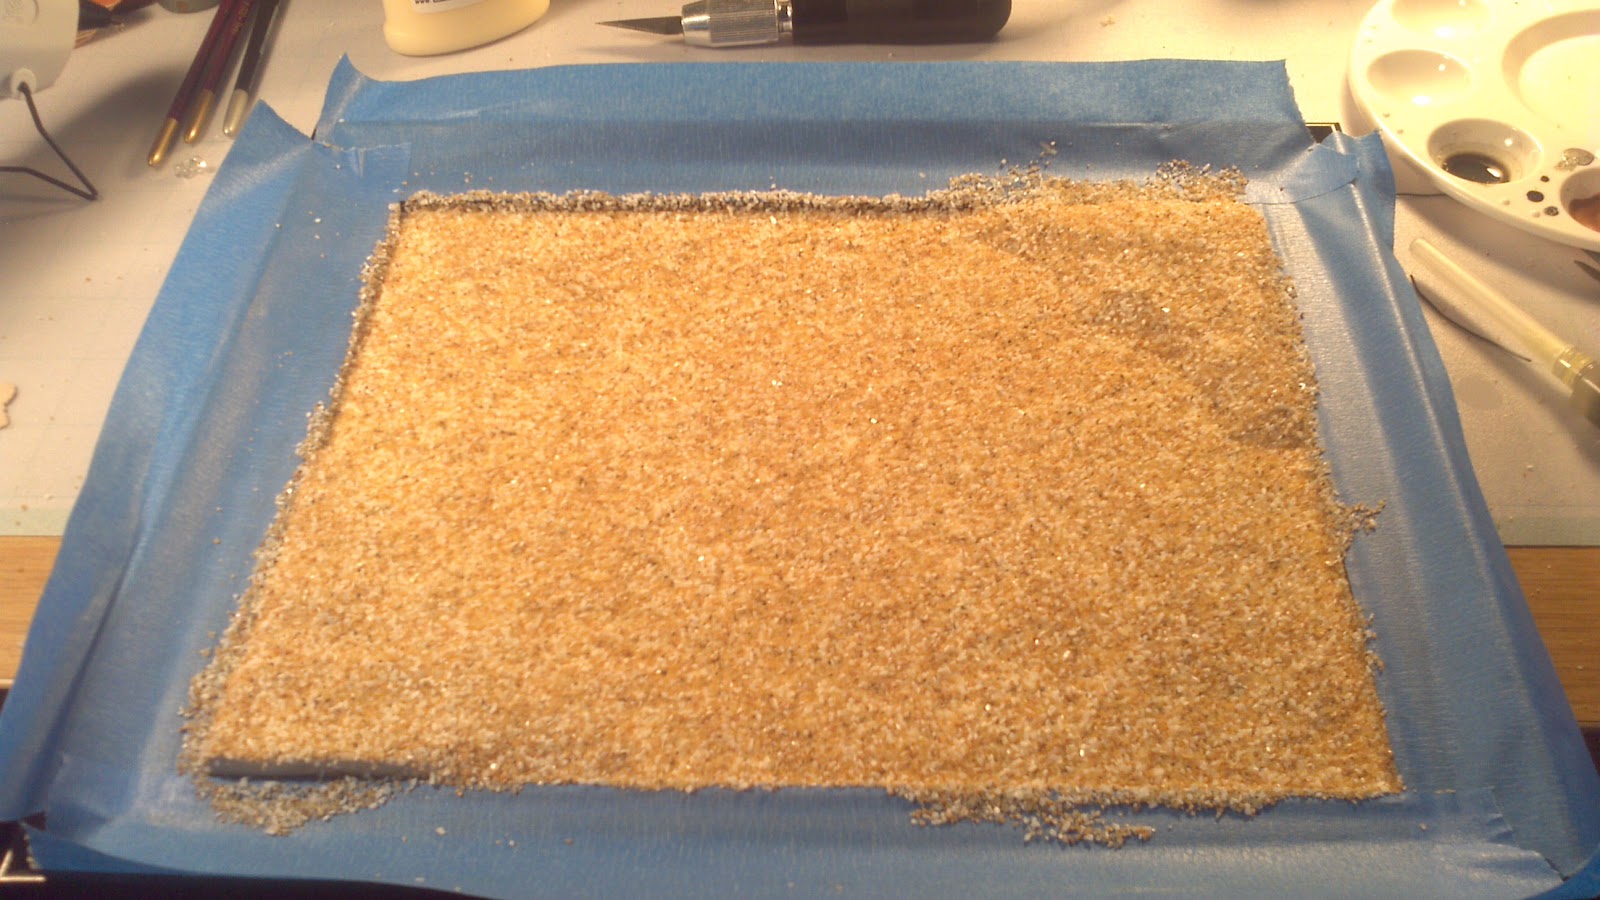
Now on to the Base.... I was short on time so I did not use the wood base from my Warhound, but instead got a picture frame from Jo Anns for $5 or so and used it. I glossed the frame and then Masked off the frame to avoid getting glue and sand on the nice gloss surface. From there I added some Fimo hills and glued the sand to the Backing.
Then painted it and drybrushed it like any other Base....
After that I simply glued the chimera to the base.....
And VERY SOON after I noticed I had forgotten the Commo antennae so I added those and named it "Rust Bucket" by freehanding that on the side......And dressed up the antennae with a Wine foil Guidon, Complete with crossed rifles and in Infantry Blue..... And Now Im calling it DONE!!!
SO Remember.... That with a little work (4 days of 4-5 hours a night) Even the most horrific tragedy of a model can be revived to serve the Emperor again..... And if you still think its too far His Glorious service??? Chaos the HECK out of it!! Nurgle needs more crap too!! But thats the NEXT model time....;)
Till next time Serve the Emperor well,
Munkey


No comments:
Post a Comment